

Photo Booth Mask DIY
SHARE


Photo Booth Mask DIY
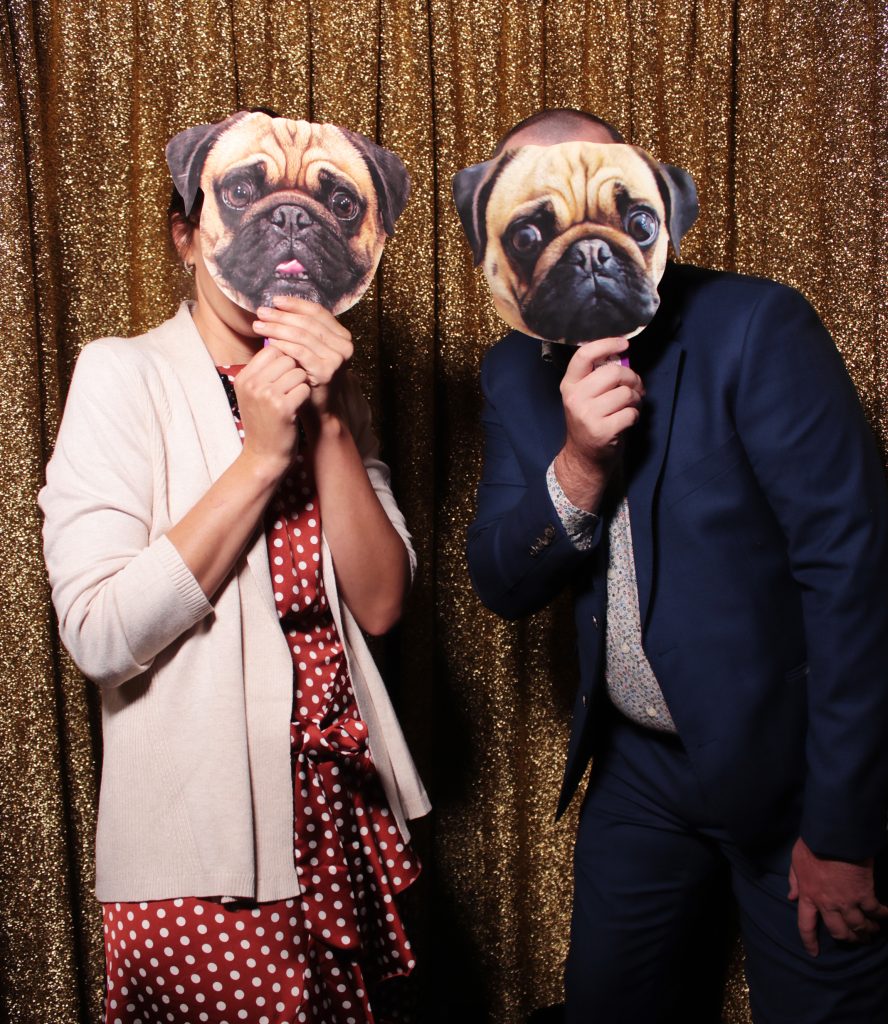
A photo booth mask will instantly inspire your guests’ creative juices – guaranteed. Better still, you can easily make your own DIY masks to match your event, your guests or even your favourite inside jokes.
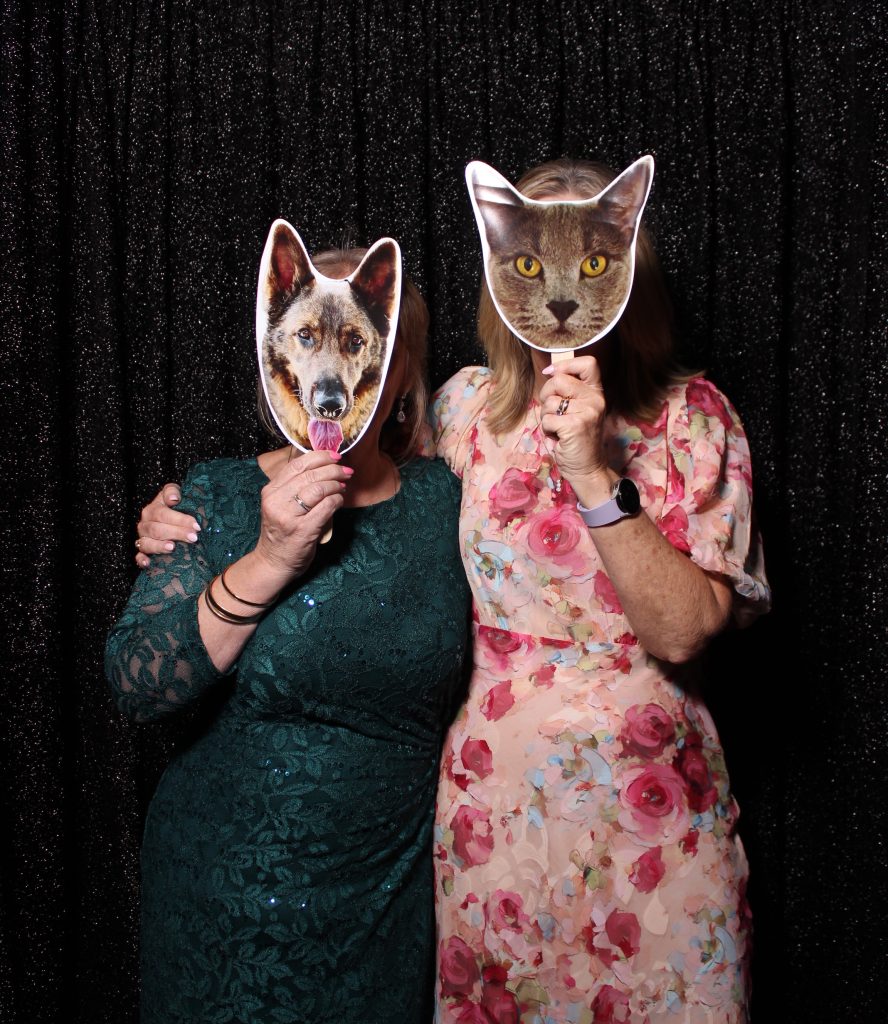
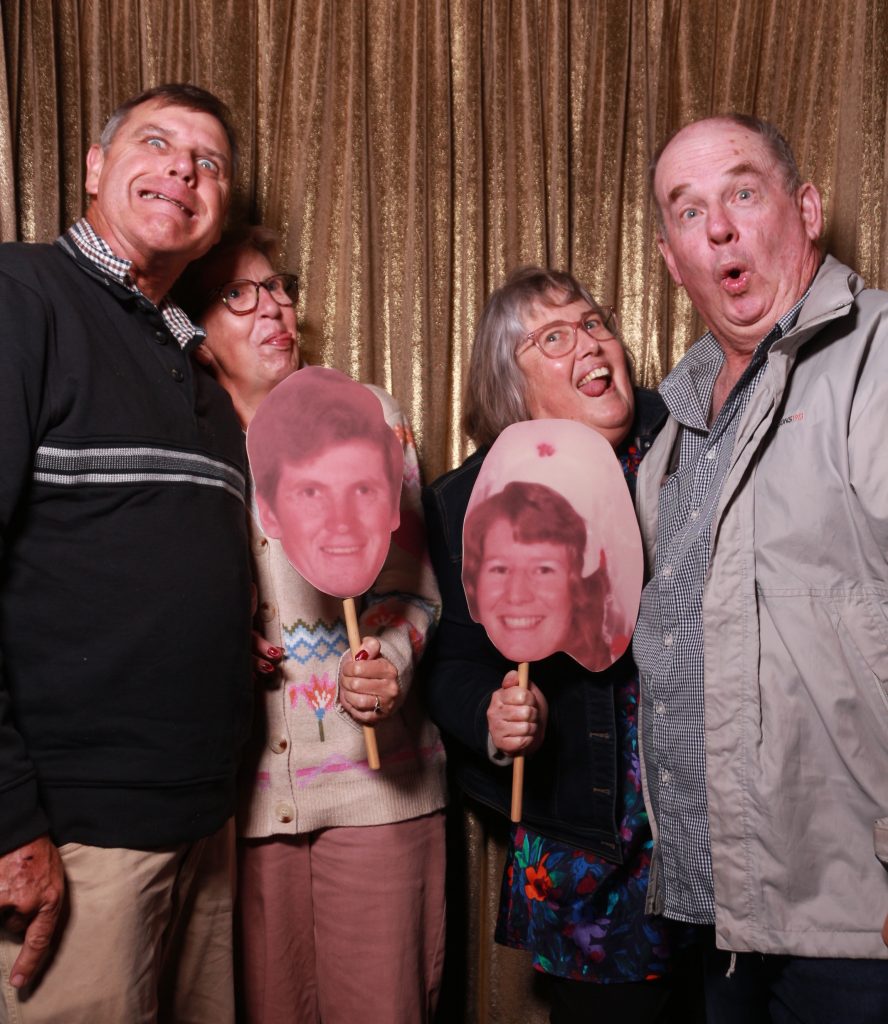
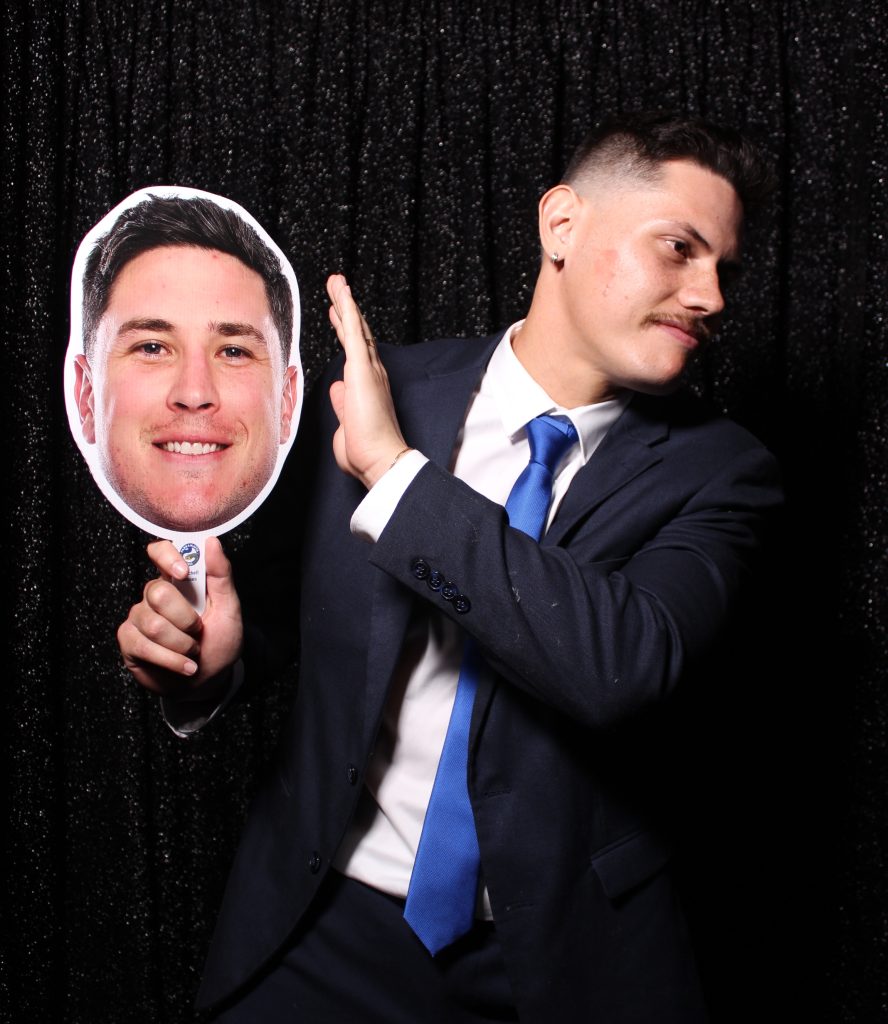
For example, your masks could feature famous people, guests that can’t attend, your pets or favourite characters. Think a bride who’s the biggest Swiftie on earth or a groom who’s only request was a Star Wars themed cake. The possibilities really are endless!
A little prep work and some basic craft items will have your customised photo booth props the talk of your event. Simply place your creations near the photo booth (your attendant will be on hand to assist) and let your guests take over. Before long, someone will be posing as a celebrity, someone else will become your cat, and your quietest guest may create the winning instant print of the night!
DIY Photobooth Mask Instructions
Gather your supplies
Printed images: Around 20-25cm wide is a good rule of thumb for size. Print your chosen images on matte finish paper or card. Shiny paper will reflect the photo booth flash and make the mask less effective. Try Officeworks printing services for a wide choice of thicknesses and finishes.
How many? 4-6 custom printed props is a good amount. Not too many so the theme is lost, but not too few so every photo looks identical.
Backing board: Foam core or similar stiff craft board is great to ensure your photo booth mask creations are self supporting – you don’t want them drooping over! If you’ve got access to the right tools, thin ply will give your props a long shelf life as a bit of celebration memorabilia after the day!
Handles: You will need oversized paddle pop sticks, available from craft stores, or thin dowel from Bunnings for your handles.
How to
Cut out your prints: Use small, sharp scissors to cut out your photo booth mask. For best results, cut as close to or on the line of the image as you can.
Trace onto backing board: Use your print to trace the outline onto your foam core, cardboard or ply. Use a sharp Stanley knife to carefully cut out your backing board. Or, if you have access to a craft cutting machine such as a Cricut or your Dad has a jigsaw for your ply, it will be a cinch!
Glue on your print: With a paint brush, thinly spread photo safe glue onto your backing board or use double sided tape. Carefully line up your print and stick. Take it slow – you only get one shot at this step!
Attach your handle: Use Superglue to attach your hand to the back. However, be careful to not mark the front of your mark when you turn it over to glue on the handle.
Voila!
You’re done! Pack your photo booth prop creations carefully into a plastic crate with tissue paper so they don’t get damaged. Don’t forget to place them with other important items to take to your venue so they don’t get forgotten! Finally, all that’s left is to let your guests go to town and enjoy the results on your USB folio!
Custom Prop Ideas
- Your pets
- Guests that are unable to attend the event
- Favourite celebrities
- Famous musicians
- Movie characters
- If your celebration has a theme i.e. pirates, what about a parrot, a treasure chest and a bottle of rum?!
- The guest of honour in their younger years